Rust Embedded Board Tutorial: Step-by-Step Guide for Beginners to Master Embedded Systems
If you’ve ever wondered how to create smart and safe hardware using modern programming tools, this Rust embedded board tutorial is just what you need. Rust has quickly become one of the most popular programming languages for embedded systems, thanks to its powerful performance, memory safety, and zero-cost abstractions. Whether you’re an electronics hobbyist, a student, or a professional developer, understanding how Rust works on embedded boards will help you build faster, safer, and more reliable devices.
In this article, we’ll walk you through the entire journey — from setting up your development environment to writing, compiling, and testing your first Rust program on an embedded board. So grab your favorite microcontroller, and let’s dive right into the Rust embedded board tutorial!

Why Choose Rust for Embedded Boards?

Before jumping into coding, it’s important to understand why Rust is a game-changer in the embedded world.
Key advantages of using Rust for embedded boards include:
- Memory Safety: Rust prevents memory leaks and buffer overflows — common issues in C or C++.
- Concurrency: You can run multiple processes safely without race conditions.
- Performance: Rust code compiles directly to machine code, making it lightning-fast.
- Community Support: The embedded Rust community is growing rapidly, offering tons of resources and libraries.
By combining speed with safety, Rust ensures your embedded systems are both high-performing and reliable. This is what makes the Rust embedded board tutorial a great starting point for anyone serious about hardware development.
Understanding Embedded Systems
Before getting hands-on, let’s make sure we’re clear about what an embedded system actually is.
An embedded system is a small computer that performs a specific task within a larger device. Think of:
- A washing machine controller
- A car’s airbag sensor
- A smartwatch processor
- A smart home thermostat
These devices rely on microcontrollers — tiny computing units that handle inputs and outputs. In this Rust embedded board tutorial, we’ll use Rust to program such boards to respond intelligently to the world around them.
Setting Up the Rust Environment for Embedded Development
Let’s start with the basics — preparing your environment for embedded development using Rust.
Step 1: Install Rust
You can install Rust using the following command:
curl –proto ‘=https’ –tlsv1.2 -sSf https://sh.rustup.rs | sh
Once installed, check your version using:
rustc –version
Step 2: Add Target Support
Rust supports multiple architectures. For embedded boards, you’ll need to add a target such as ARM or RISC-V:
rustup target add thumbv7em-none-eabihf
This tells the compiler to build code for microcontrollers like the STM32 series.
Step 3: Install Cargo Tools
Rust uses cargo as its package manager and build system. You’ll also want to install tools like:
cargo install cargo-generate
cargo install probe-rs-cli
cargo install cargo-embed
These will help you compile, flash, and debug your code. Setting this up early makes the rest of your Rust embedded board tutorial much smoother.
Choosing the Right Embedded Board
Not all boards are created equal. When following this Rust embedded board tutorial, the board you choose will depend on your project needs and skill level.
Here are a few Rust-compatible boards to consider:
| Board | Processor | Recommended For | Notes |
| STM32F3 Discovery | ARM Cortex-M4 | Beginners | Great documentation and community |
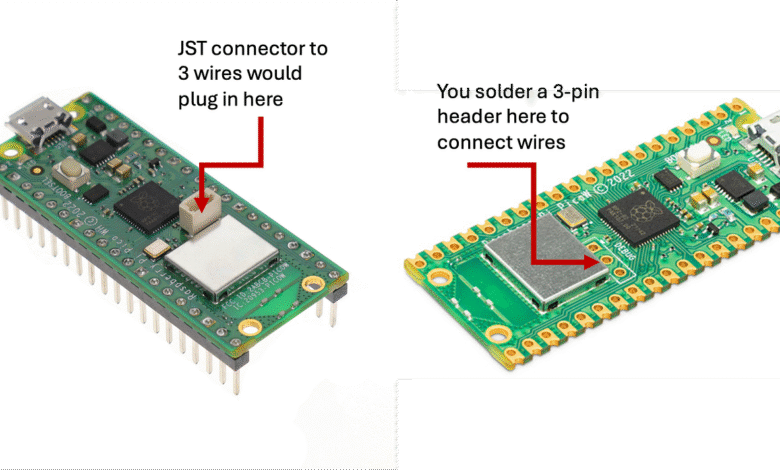
| Raspberry Pi Pico | RP2040 | Intermediate | Dual-core, good for IoT projects |
| ESP32 | Xtensa | Advanced | Built-in Wi-Fi and Bluetooth |
| nRF52840 | ARM Cortex-M4 | Wireless Projects | Excellent BLE support |
Each of these boards can run Rust code efficiently. Pick one that fits your learning goals and available tools. Once you’ve got your board, you’re ready for the next stage in this Rust embedded board tutorial — coding your first program.
Writing Your First Rust Program for an Embedded Board
Now comes the exciting part — writing and flashing your first program!
Let’s say we want to blink an LED. It’s the “Hello World” of embedded development.
Here’s a simple example:
#![no_std]
#![no_main]
use cortex_m_rt::entry;
use stm32f3xx_hal::{pac, prelude::*};
#[entry]
fn main() -> ! {
let peripherals = pac::Peripherals::take().unwrap();
let mut flash = peripherals.FLASH.constrain();
let mut rcc = peripherals.RCC.constrain();
let mut gpioe = peripherals.GPIOE.split(&mut rcc.ahb);
let mut led = gpioe.pe9.into_push_pull_output(&mut gpioe.moder, &mut gpioe.otyper);
loop {
led.set_high().unwrap();
cortex_m::asm::delay(8_000_000);
led.set_low().unwrap();
cortex_m::asm::delay(8_000_000);
}
}
This code uses the stm32f3xx-hal (Hardware Abstraction Layer) crate to manage low-level interactions safely.
Upload the code to your board using cargo embed, and you’ll see your LED start blinking! This simple yet powerful step demonstrates how Rust can directly control hardware — a key takeaway in this Rust embedded board tutorial.
Debugging and Testing Embedded Rust Code
Testing is crucial in embedded programming. You don’t want your hardware misbehaving in the real world.
Rust makes debugging easier with its safe error handling and clear compiler messages.
Tips for testing your Rust embedded code:
- Use cargo test for non-hardware logic.
- Use probe-rs for debugging with real hardware.
- Print messages to a serial console for simple debugging.
- Apply unit tests to test individual modules before flashing.
By carefully testing your code, you can ensure your Rust embedded board tutorial projects run without a hitch.
Optimizing Performance in Embedded Rust
Performance matters a lot when working with embedded devices that have limited memory and processing power. Rust’s compiler is already optimized, but you can still improve your project’s performance:
Optimization tips:
- Use –release mode when building for deployment.
- Avoid unnecessary memory allocations.
- Leverage const and static for fixed data.
- Minimize runtime dependencies.
- Use direct register manipulation only when necessary.
With these optimizations, your Rust programs will run efficiently even on boards with minimal resources. This is one of the major strengths highlighted in this Rust embedded board tutorial.
Real-World Applications of Rust in Embedded Systems
Rust isn’t just for hobby projects — it’s already powering real products. Many companies use Rust in embedded systems for safety-critical applications.
Examples include:
- Automotive Systems: Autonomous driving modules rely on Rust for reliability.
- IoT Devices: Smart sensors and wearables use Rust for fast, low-power operation.
- Industrial Machines: Robots and controllers use Rust to prevent runtime crashes.
- Aerospace: Some satellite projects have started adopting Rust for onboard control systems.
These examples prove how Rust is transforming embedded systems development worldwide, making the Rust embedded board tutorial not just educational but futuristic.
Troubleshooting Common Rust Embedded Issues
Every developer runs into roadblocks — don’t worry, we’ve got you covered!
Here are some common problems you might face and how to fix them:
| Issue | Cause | Solution |
| Build fails | Missing toolchain or crate | Check rustup target list and install required crates |
| Board not responding | Bad connection | Replug USB or reflash firmware |
| Code not running | Missing #[entry] macro | Ensure main function is correctly annotated |
| Debugger errors | Outdated probe-rs | Update using cargo install probe-rs-cli –force |
These quick fixes will save you time and frustration during your Rust embedded board tutorial journey.
Future of Rust in Embedded Development
The future of Rust in embedded systems looks brighter than ever. Major chip manufacturers are embracing it, new libraries appear monthly, and developers appreciate the combination of safety and speed.
Rust could become the default language for embedded software in the next few years, replacing C and C++ in many industries. By mastering it now through this Rust embedded board tutorial, you’ll be ahead of the curve.
Final Thoughts on Rust Embedded Board Tutorial
Learning embedded systems with Rust might seem challenging at first, but it’s absolutely worth it. You get modern tools, unmatched safety, and a thriving community to support you every step of the way.
By following this Rust embedded board tutorial, you’ve learned how to:
- Set up your Rust environment for embedded programming.
- Choose the right microcontroller board.
- Write, test, and debug embedded code safely.
- Optimize performance and avoid common pitfalls.
Rust brings joy back to embedded development — with fewer bugs, cleaner syntax, and more power. So go ahead, experiment with your first Rust project today and start your journey toward mastering embedded systems.
At dailytrendblogs.com, we believe Rust is the future of hardware programming — and this Rust embedded board tutorial is your roadmap to becoming part of that future.